Assisted manual provisioning
If the SSH user configured in the on-premises provider has sudo privileges that require a password, you can provision your nodes by running the pre-provisioning script (provision_instance.py).
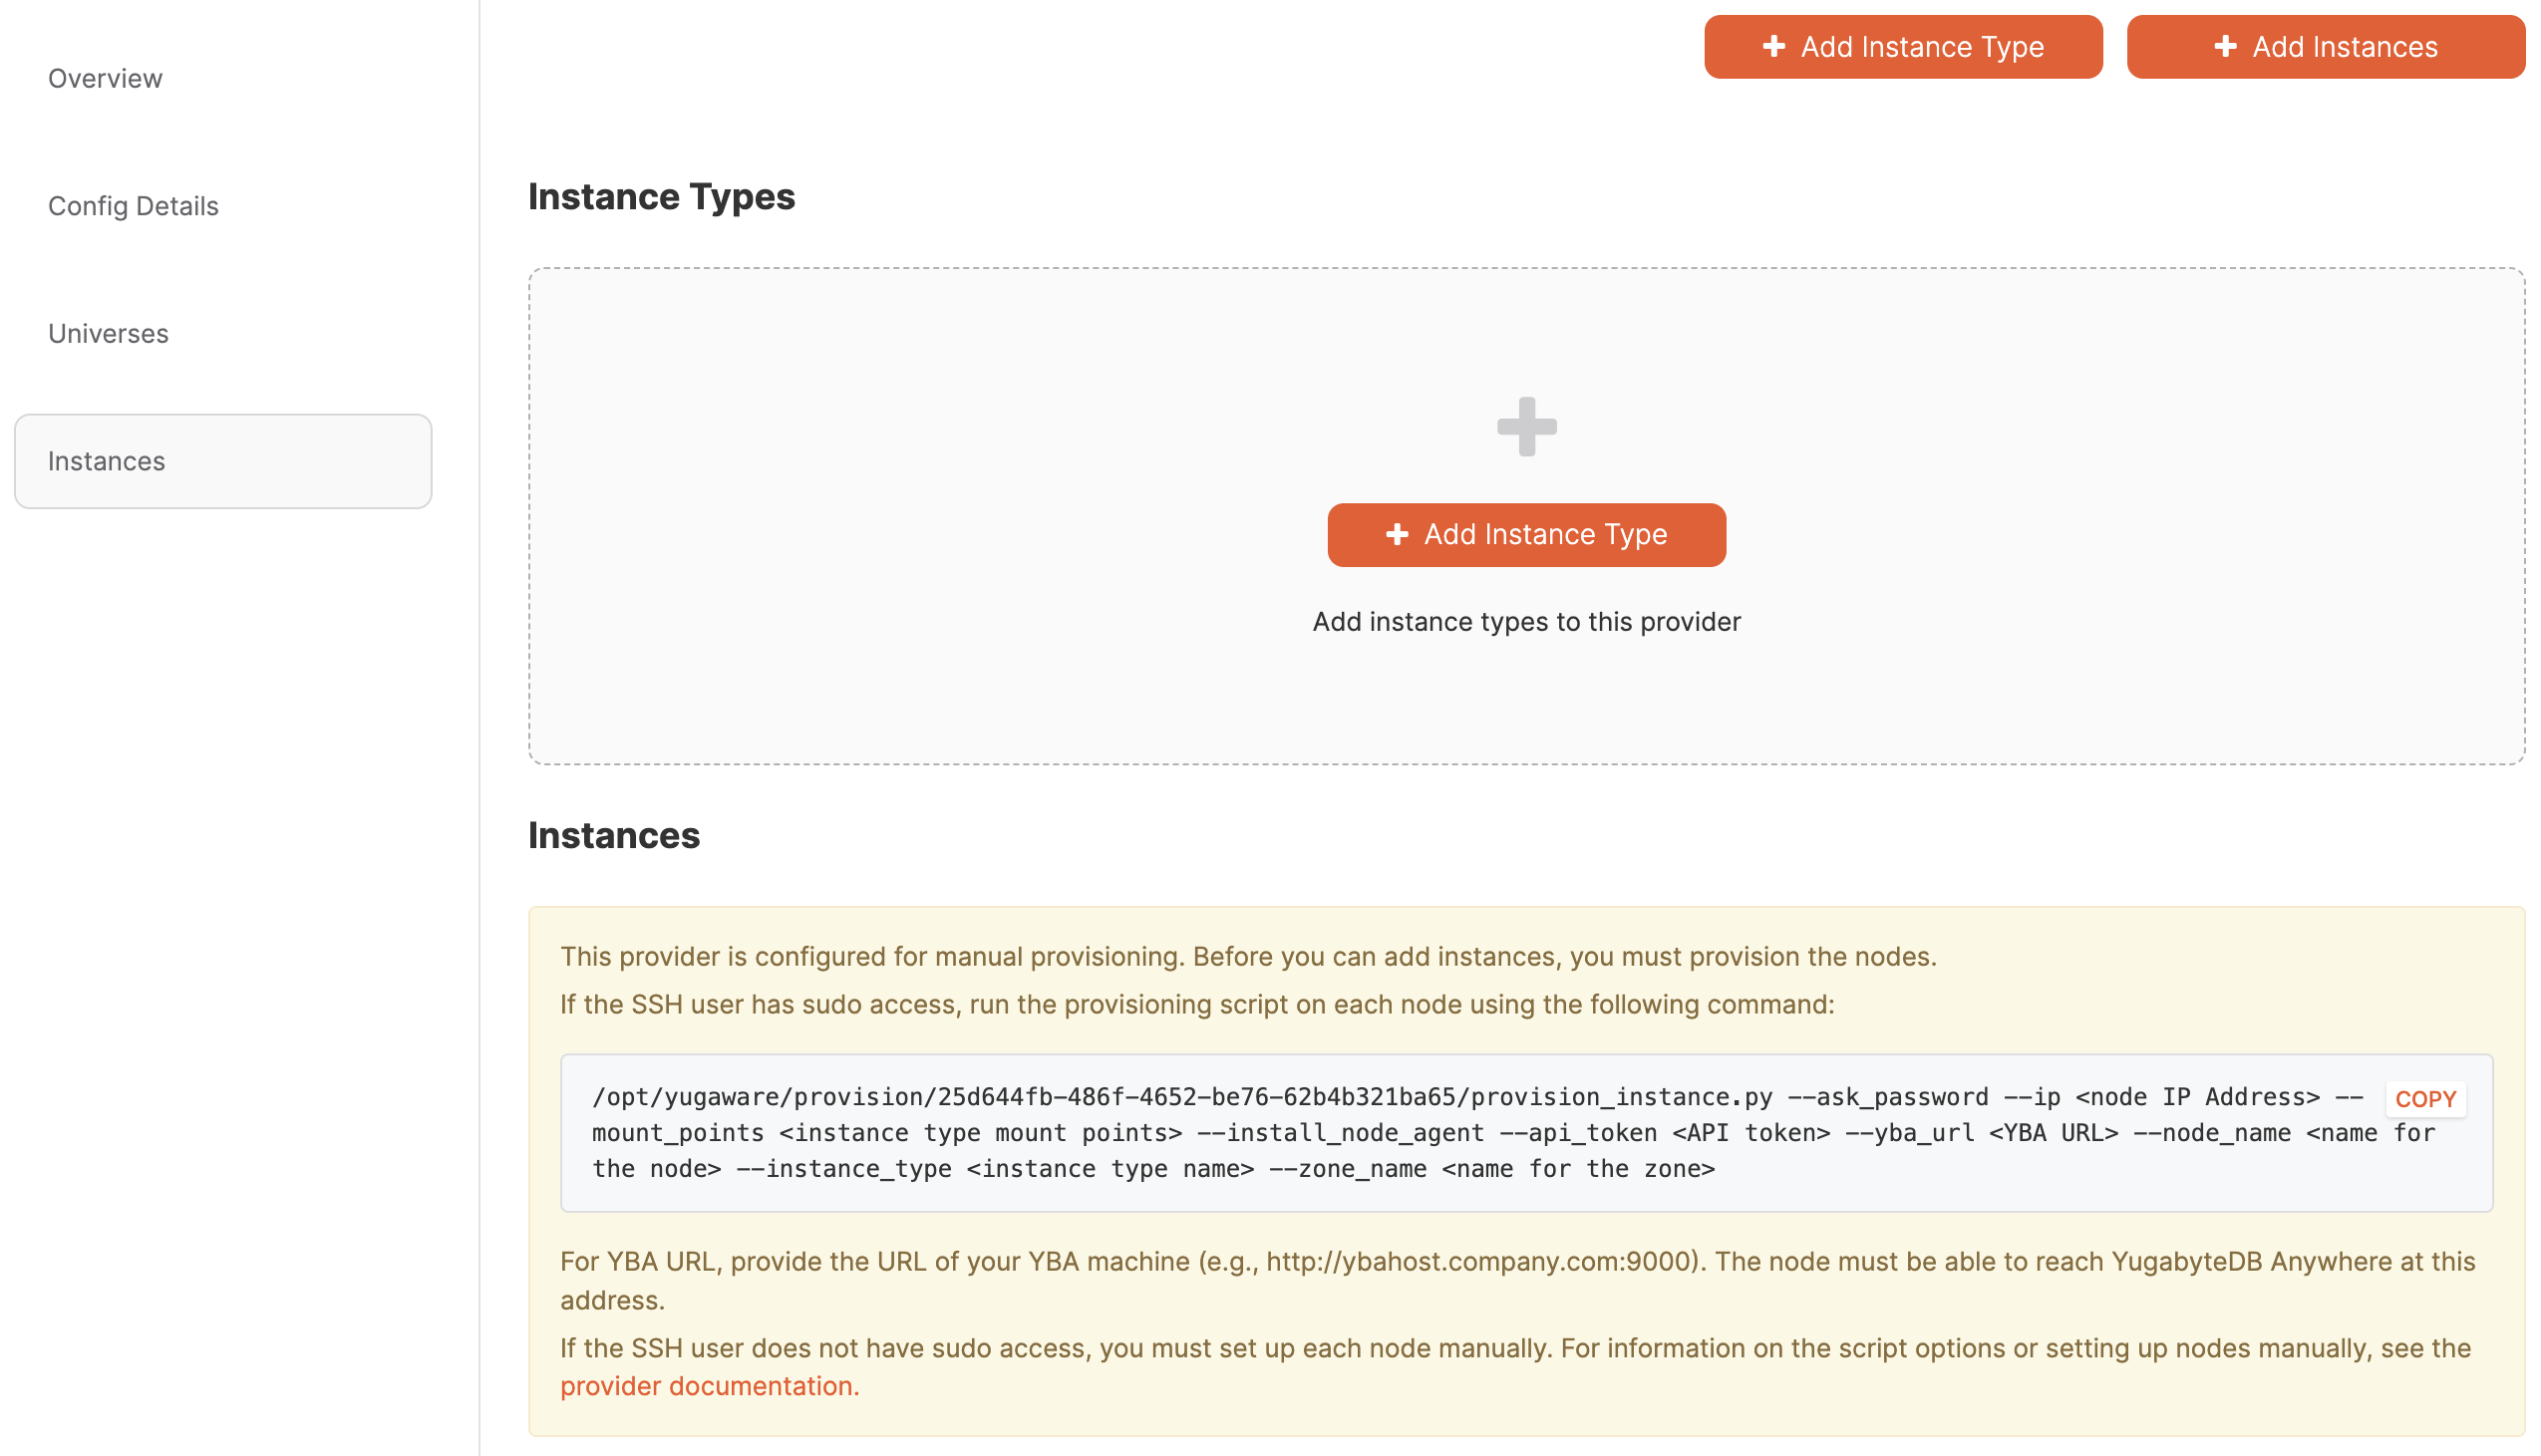
The script is displayed under Instances on the Instances tab of the on-prem configuration you created.
Note
If the SSH user does not have any sudo privileges at all, you can't use the script and need to manually provision nodes. Refer to Fully manual.Manually provision nodes using the script
You can manually provision each node using the pre-provisioning Python script, as follows:
-
Log in to the YugabyteDB Anywhere virtual machine via SSH.
-
If you installed YugabyteDB Anywhere using Replicated, access the Docker
yugawarecontainer, as follows:sudo docker exec -it yugaware bash -
In YugabyteDB Anywhere, navigate to Integrations > Infrastructure > On-Premises Datacenters, select the on-premises provider configuration you created, and choose Instances.

-
Copy and paste the Python script command under Instances.
Set the flags for the command as follows:
--ask_password- this flag instructs the script to prompt for a password, which is required if the sudo user requires password authentication.--ip- enter the IP address of the node.--mount_points- enter the mount point configured for the node (typically/data). If you have multiple drives, add these as a comma-separated list, such as, for example,/mnt/d0,/mnt/d1.--install_node_agent- this flag instructs the script to install the node agent, which is required for YugabyteDB Anywhere to communicate with the instance.--api_token- enter your API token; you can create an API token by navigating to your User Profile and clicking Generate Key.--yba_url- enter the URL of the machine where you are running YugabyteDB Anywhere. For example,https://ybahost.company.com. The node must be able to communicate with YugabyteDB Anywhere at this address.--node_name- enter a name for the node.--instance_type- enter the name of the instance type to use for the node. The name must match the name of an existing instance type.--zone_name- enter a zone name for the node.
For example:
/opt/yugabyte/yugaware/data/provision/9cf26f3b-4c7c-451a-880d-593f2f76efce/provision_instance.py \
    --ask_password \
    --ip 10.9.116.65 \
    --mount_points /data \
    --install_node_agent \
    --api_token 999bc9db-ddfb-9fec-a33d-4f8f9fd88db7 \
    --yba_url https://10.98.0.40:9000 \
    --node_name onprem_node1 \
    --instance_type c5.large \
    --zone_name us-west-2a
Expect the following output and password prompt:
Executing provision now for instance with IP 10.9.116.65... SUDO password: -
Enter your password.
-
Wait for the script to finish successfully.
-
Repeat steps 4-6 for every node that will participate in the on-prem configuration.
After you have provisioned the nodes, you can proceed to add instances to the on-premises provider.